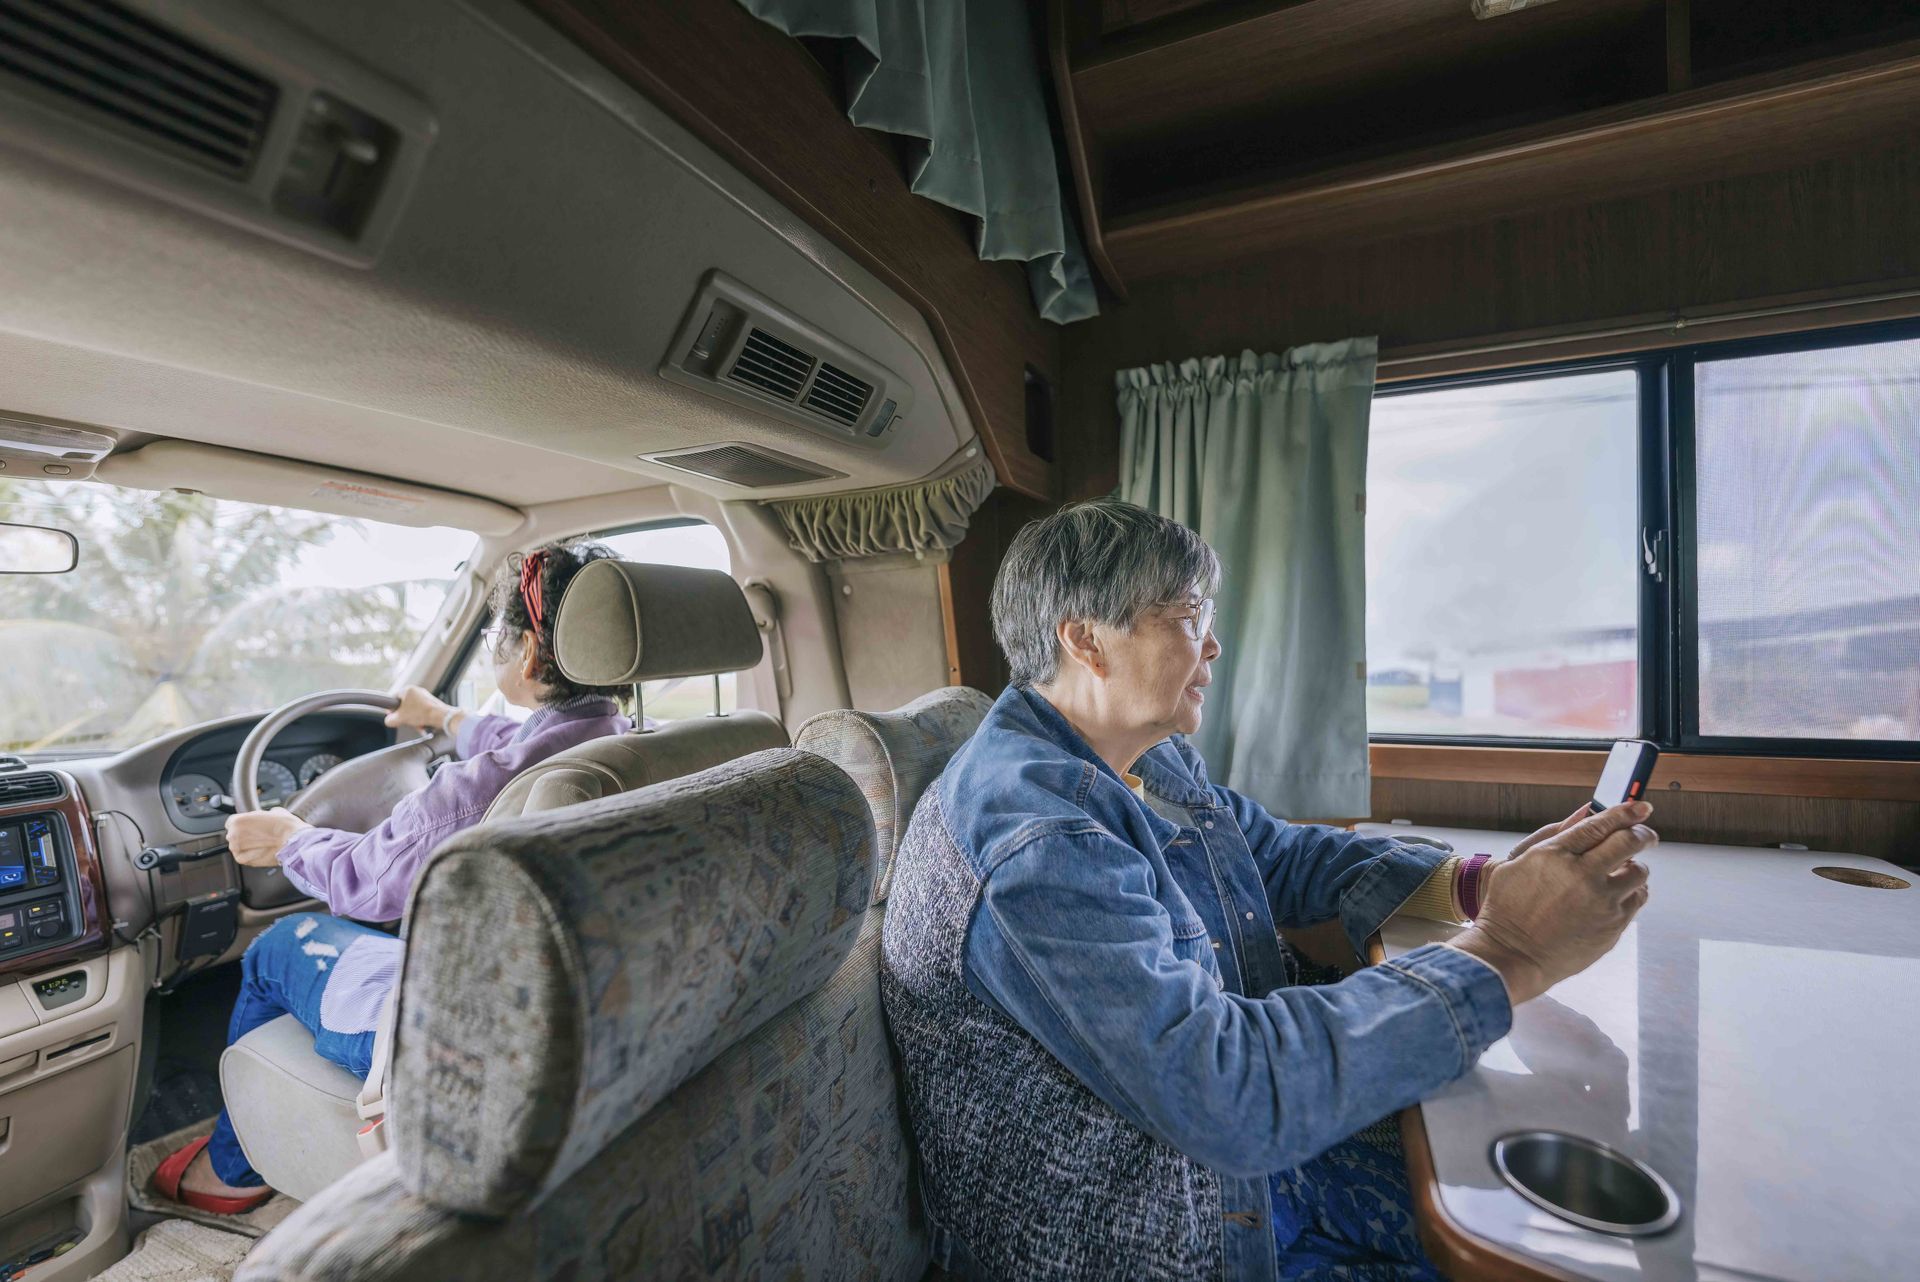
Dry Camping – Semi Roughing It Without Losing It

We routinely have customers come into the shop who have purchased a new or new RV so they can enjoy more of what our incredible state and country have outdoors. While it's mostly an enjoyable new adventure, it can sometimes be frustrating and confusing, especially when someone is RVing in an area without any hookups. They do "dry camp," staying in the RV with no electric or water hookups. Trying to figure out how to make the water and power supply last, their entire outing can prove a difficult lesson. The overload of advice, reading material, and Google searches gives anyone a pounding headache. Most sources discuss solar power, added batteries, and/or generators. While these answers are great for do-it-yourselfers who have the time and money, for many folks, this is either undesirable or not an option, given space, time, ability, or cost limitations. With that in mind, I will provide alternative tips that are inexpensive and simple and don't require significant changes to your RV.

Batteries & Extending Your Power

  • Some recreational vehicles have space for four or more batteries. Many, like vans and small travel trailers, can only accommodate two, at least without significant modification. It is sometimes possible to add more batteries, but it most likely comes at the cost of storage space. Therefore, many RV owners need more batteries to supply their coach power. My advice is to use 6V batteries instead of 12V. 6V batteries are the preferred power source for solar panels on your couch. 6V batteries have a higher and better current capacity than 12V due to the larger plates, which results in a slower discharge rate. My husband explains it to customers this way: A 12V battery is like a car with a 60-gallon gas tank, and a 6V battery is like a car with a 100-gallon gas tank. An important thing to remember if you switch to 6V batteries is that it requires two 6V batteries to replace a single 12V battery in your system.
  • What exactly draws power from your 12V batteries in your RV? The short answer is EVERYTHING! Lights, computer boards on your appliances, the furnace, LP detectors and monitors, and vent fans. They all draw some load from your batteries, but your furnace blower motor is the biggest thief of 12V power. Suppose you are dry camping in cold weather and run the furnace with only a 12V battery source. In that case, you'll find yourself without power in the morning for just about everything you need. To help extend your battery life with your daily use, try some of the following things:
  1. Replace your lightbulbs with LED bulbs. LED bulbs take roughly one-tenth the power of traditional incandescent bulbs. They burn cooler, give better light, and last longer.
  2. Turn down the thermostat on the furnace. Use it only to take the RV's morning and evening chill off.
  3. Use more comforters or blankets when sleeping to keep from the urge to run the furnace all night.
  4. Turn off anything you aren't using! Don't leave the vent fan running in the bedroom or bathroom; shut off the lights when you leave the room. Be the nag you are to your kids about wasting electricity!
  • If you have a generator, use it to keep your batteries charged and to run your 12V system. Many customers have onboard generators and use them to charge the batteries while dry camping. Others have portable generators that they power up to do the same thing. Remember that using a generator requires fuel; if you are dry camping, you're probably far from a 7-11 or a Circle K for gas. Use your generator only as needed, generally to charge the batteries if they fall below 50% capacity.

Water – H2O So Important

  • Water is essential to preserve when dry camping. It's usually the first thing to run out and the hardest to find when needed. You need to be more mindful of using and saving water in your RV. There are a few things you can do that will help your water supply last longer and keep you less dirty and parched!
  1. Take short showers. Turn the water on to rinse, off while you soap up, and on just to flush again. 
  2. Install inexpensive water aerators on your faucets. You'll use less water without realizing it.
  3. Install a low-flow shower head. Several RV accessory companies make low-flow heads.
  4. While brushing your teeth, don't let the water run.
  5. Don't let the water run when you do dishes. Fill a bowl or dish pan with warm water and use it to wash. Then rinse everything together.
  6. Carry a spare water container to refill your tank during extended stays. A 6-gallon container is still manageable for most to carry and pour into your gravity fill. You can also use it to haul water from a nearby water source.

Ensuring everything in and on your RV works appropriately before heading out to remote areas is essential. Take a few minutes (OK, maybe an hour or so) to check this as they apply before your trip to the great outdoors. An ounce of prevention is worth a pound of cure…..and a ton of curse words in the woods when something breaks!

  • Visually check your battery water levels (fill with distilled water if necessary)
  • Run the generator and keep up with routine maintenance (oil changes, filters, etc.)
  • Verify solar charge controller and power inverter operation (if using solar)
  • Check all LP appliances (stove, oven, furnace, water heater)
  • Check tire inflation (carry a portable air compressor)
  • Check propane and smoke detectors
  • Check the water pump and water lines (for leaking)
  • Open and close all slide-outs
  • Raise and lower hydraulic levelers
  • Check lights, TVs, radios


With a few minor purchases and changes, more conservative thinking, and just plain practice, dry camping can open a new world of destinations for you!

11 Jan, 2024
You've purchased that much-anticipated vacation home on wheels. It's packed with burgers, dogs, and board games to keep the kids entertained if the weather won't cooperate during your outing. A few adult beverages to relax with once everyone is finally tucked in after a long day of adventures. You can't wait to head out and explore the uncharted wilderness and still enjoy a hot shower! Hold on there, Dora the Explorer! While having an RV makes seeing the great outdoors easy and much fun, take the time to educate yourself and prepare. Otherwise, you may come back from that first trip swearing that the next time you enjoy the great outdoors, it will be from the vantage of the National Geographic Channel. Whenever a new RV owner comes into our shop, we ask A LOT of questions. While it may seem annoying, we are usually asked if we could teach a class for new RV'ers by the end of our conversation. Seldom does the salesperson you buy your RV from take the time to educate you on how you correctly use it. They often don't have a clue; they are just that……a salesperson. With that in mind, here are a few things to do to make your life and vacations more enjoyable and headache-free. Get an index card and pen (yes, this means doing it the old-fashioned way, no technology involved). Locate the model and serial number of all appliances on each appliance, including your toilet and awning, and write them down. In our industry, all parts are model (and sometimes serial) number-specific. I can't tell you how many times I've had to talk someone through the process of where to find the model number on an appliance. Listening to them trying to explain it to his ever-increasingly impatient significant other who just wants to take a hot shower is gut-wrenching! The appliance manuals list ALL the models manufactured, so they are useless. They are great for starting a campfire to make smores. Put a bubble level in the freezer of your refrigerator. THE MOST IMPORTANT THING is to ensure your fridge is level when running. An RV fridge does not contain Freon. It uses a mixture of zinc chromium and ammonia to cool. There's a mouthful! If the fridge operates off level one time, it can create a blockage, which, once created, won't ever go away. This blockage will eventually cause the unit to fail, forcing you to buy a new fridge. The average price for a new RV fridge is $1400.00 (cue crying here). You can now see why a $3.00 bubble level is valuable. ALWAYS use RV toilet paper and RV toilet chemicals in the bathroom. Yes, toilet paper from the grocery store is cheaper. Cheaper now, that is, until someone like my husband comes to unclog the holding tank in your RV. That "cheap" paper doesn't break down like RV toilet paper, and when you get the bill for his service, you'll wish you'd bought the correct kind. Oh, an added bonus is the less-than-aromatic smell you'll live with until the unpleasant problem disappears. Just as you plan ahead for meals, routes, and where to stop, plan ahead with the knowledge of how to use and take care of your RV. We are in the business of servicing your RV, but we really try to save our customers from costly repairs. Now, go out and enjoy the great outdoors!
11 Jan, 2024
"Help! My air conditioner isn't working, and it's so hot in my RV!" I can't tell you how often we get that type of frantic, sweat-induced call in the summer from both long-time RVers and those new to owning one. There are a few things you need to keep in mind about RV air conditioning and that you need to do to ensure your home away from home is cool and comfy. While you're at the campground pool all day, shopping, or visiting the sights around the area, the RV is heating up inside. You've left the air conditioner off. It's 100 degrees inside when you return to the RV at 5 o'clock at night! Immediately, you turn that air conditioner on. Why doesn't it feel cooler yet?! You need to realize that the air conditioner has to pull the heat out of the carpet, bedding and couches out of everything inside before you start to feel cool. This takes time, LOTS of time. Here are a few things to avoid being miserable when using your RV A/C…. The first thing you need to ensure is that you plug into at least a 30-amp service. RV air conditioners require 30 constant amps to operate. If you plug into a regular 110-house outlet and run the A/C, you'll have cold air for a few minutes and then warm or no atmosphere. A couple of things happen when you run the A/C plugged into 110. First, you only get 15 amps to the A/C, half of the required. This will cause the compressor to overload and at some point, fail entirely. Most times, that then requires a new A/C unit to remedy the problem. Also, look at the adapter on the end of your RV cord that enables you to plug into 110. You'll find it is severely discolored and often literally melted from the intense heat from the overloaded cord. A potentially dangerous situation. Turn that air conditioner on in the morning; by morning, I mean by 9AM. If you wait until noon to turn on the A/C, you'll never have a fantastic RV! Set the fan on HIGH. Using the low setting causes the A/C to freeze because of the lack of airflow. Set the mode to COOL. Don't use the Auto setting. When an A/C runs in the Auto mode, the compressor cycles intermittently, making the unit work much more than you want. Let it run all day; it'll do a better job, and you'll return to a fantastic RV. Use your thermostat to adjust the temperature inside your RV. If it's too cold, push it up a bit. If it's too warm, move it down a few degrees.  These tips help you make your air conditioner work more effectively for you, save a phone call to us, and just help you have a better camping experience. Be safe. Stay cool!
11 Jan, 2024
Winterizing your RV, whether a travel trailer fifth-wheel or motor home, is a bittersweet affair. On one hand, you have to do it so your precious baby will survive the cold weather ahead. On the other hand, it means the end of the camping season. Come to think of it, there's nothing sweet about it. It's all bitter, just like the cold! Regardless, it's one of those jobs that you have to do. Whether you have your trusted RV service center (hint, hint!) perform this task, or you do it yourself, make sure it's done BEFORE freezing temperatures come and do damage to your home on wheels. While you read this from the comfy warmth of your home, let me remind you of a few things about cold weather and your RV. Two of the most common questions about winterizing are "How cold does it need to get before I winterize?" and "When is it time to winterize my RV?" Well…water freezes at 32 degrees. No one wants broken water fittings, broken toilet valves, or cracked water pump heads. Winterize your RV before the temperature drops to 32 degrees to ensure that won't happen. Usually, that's around mid to late October for this area. As soon as you're done for the season with your RV, it's time to winterize it. The sooner you get it done, the better; you never know when we will have our first freeze here in the high country. Why take a chance? That's what Vegas is for! Some will blow out their RV's water lines with compressed air to winterize it. While this is a quicker way to winterize, it only guarantees that some water is removed from your plumbing system. Getting enough pressure from a household air compressor to force out the water in your RV is almost impossible. Many who use this method often replace toilet valves, faucets, and water pumps in the spring. For every RVer that blows out their system without issue, many need repairs by us once winter is over. When winterizing an RV, we pump RV antifreeze (NOT the same as auto antifreeze) through the entire freshwater system. RV antifreeze is pink in color. This process is a little involved for the first time. It requires the installation of bypass valves on the back of your water heater. You don't run the antifreeze into the water heater because it gets drained. Once the valves are installed, they are permanent. The process of winterizing and de-winterizing then takes only about 15-20 minutes. Most RVs take between 2 and 4 gallons of RV antifreeze. The antifreeze gets pumped through the system at your freshwater pump. As it moves through the lines, you open all faucets until pink comes out and flush the toilet until pink appears. If an RV has a washing machine, it also requires winterizing, and you will use a few more gallons of antifreeze. If your fridge has an ice maker, it also needs winterizing. Any water filter systems are either bypassed or removed as well. If you want to winterize your RV yourself but need help with what to do, give us a call or stop by our shop. We gladly talk customers through the steps and ensure you have everything necessary to do the job. If you'd prefer us to do it for you, we provide the service at our shop or wherever your RV is located. Regardless, pay attention to preparing your RV for winter or think that it's not essential. We hate seeing folks panic about repairs when they leave on that first spring/summer getaway due to leaks and breaks in the water system. Old man, winter is coming here; don't let his freezing fingers wreak havoc on your RV!
11 Jan, 2024
Traffic delays are no fun, even when you're just taking a leisurely RV road trip. Unexpected road closures, accidents, and construction zones cause stress no matter where you're headed. If you want to stay ahead of the headaches, follow a few planning tips to avoid traffic hassles. 
11 Jan, 2024
Winterizing your RV, be it a travel trailer, fifth-wheel, or motor home, is a bittersweet affair. On one hand, you have to do it so your precious baby will survive the cold weather ahead. On the other hand, it means the end of the camping season. Come to think of it, there's nothing sweet about it. It's all bitter, just like the cold! Regardless, it's one of those jobs that you have to do. Whether you have your trusted RV service center (hint, hint!) perform this task, or you do it yourself, make sure it's done BEFORE freezing temperatures come and do damage to your home on wheels. While you read this from the comfy warmth of your home, let me remind you of a few things about cold weather and your RV. Two of the most common questions about winterizing are "How cold does it need to get before I winterize?" and "When is it time to winterize my RV?" Well…water freezes at 32 degrees. No one wants broken water fittings, broken toilet valves, or cracked water pump heads. Winterize your RV before the temperature drops to 32 degrees to ensure that won't happen. Usually, that's around mid to late October for this area. As soon as you're done for the season with your RV, it's time to winterize it. The sooner you get it done, the better; you never know when we will have our first freeze here in the high country. Why take a chance? That's what Vegas is for!
Share by: